


How I got this picture - David Lingham Posted On 15th November 2017 To How I got this picture

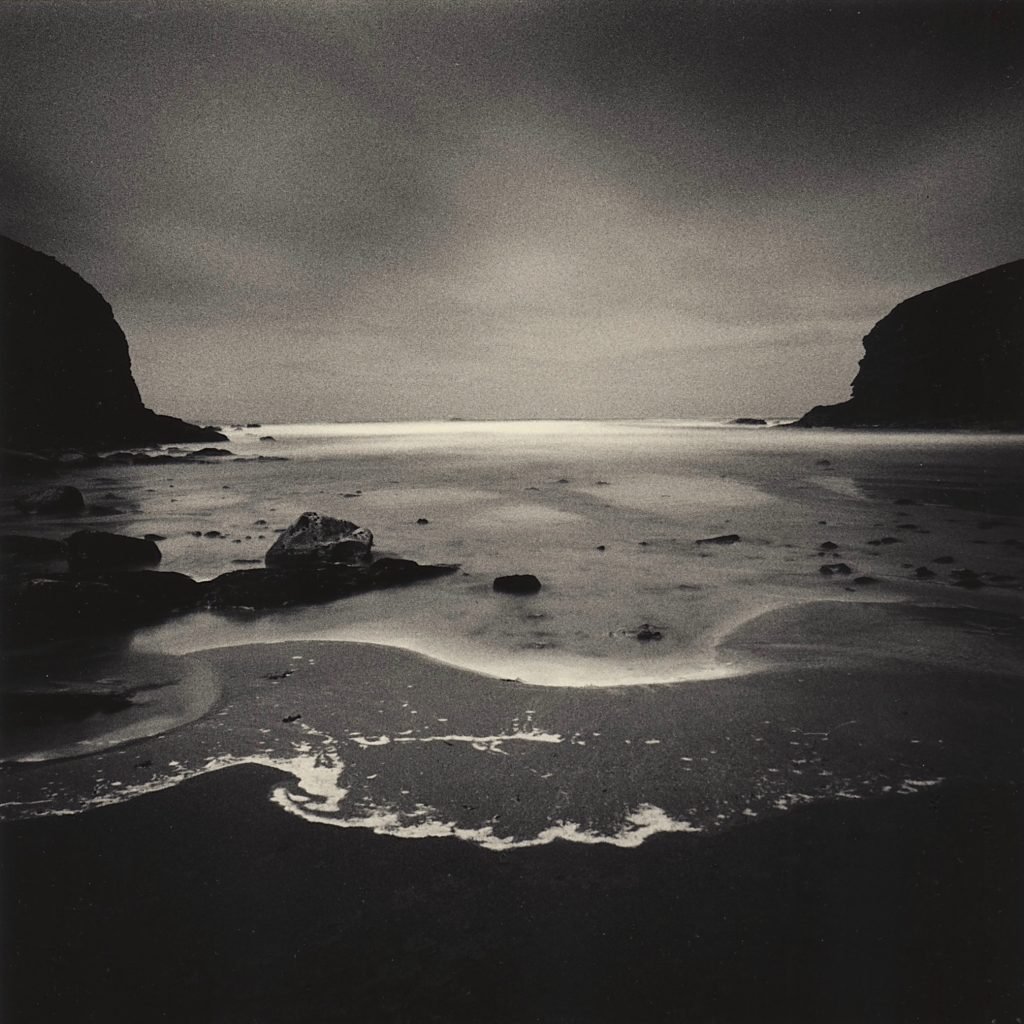
Nolton Haven
 Technical info
Film Used FP4+
Format 35mm
Camera Nikon F2
Lens 20mm F3.5 AI. 25A red & 2stop ND filters.
Exposure time 30seconds
Other equipment Manfrotto tripod, Weston Lightmeter.
Location
Nolton Haven is a small narrow bay on the Pembrokeshire coast in West Wales. It sits between the two much larger beaches of Druidstone and Newgale. Its characteristic feature are its two almost near symmetrical headlands.
Firstly, tell us the story behind this image. What inspired you to shoot it?
The picture was taken on a very cold morning, during early March 2015. I had been at the beach for a couple of hours taking pictures of the receding tide. As the light changed throughout the morning, the headland on the left of the bay came into shadow. Initially it was the reflection of the dark headland mass that caught my attention, until I saw the curve of white foam standing out against what appeared to be wet black sand.
Did you come across any challenges?
I had in my mind a final picture that would feature the contrast between the foam and the dark sand. This would mean trying to subdue the other elements in the frame that I knew would become distracting. As the foam was reasonably static I decided to do this with a longish exposure that would blur both the water and sky. Also, later in the darkroom I knew I could print down and suppress any shadow detail, keeping the emphasis of the picture on the foam and the foreground. The line of light on the horizon was just luck.
What process did you use (Tripod? Set exposure time? Filters?)
I set my tripod at waist level, so the distorted perspective of the 20mm lens would give prominence to the foreground, and used a 25A red filter to make a series of exposures varying both the speed and aperture. Finally to ensure the water was smooth, I added a 2stop ND filter as well. Using both filters at the same time did cause vignetting with the 20mm lens, and this was partly why I decided to crop and make a square print from the central portion of the 35mm negative.
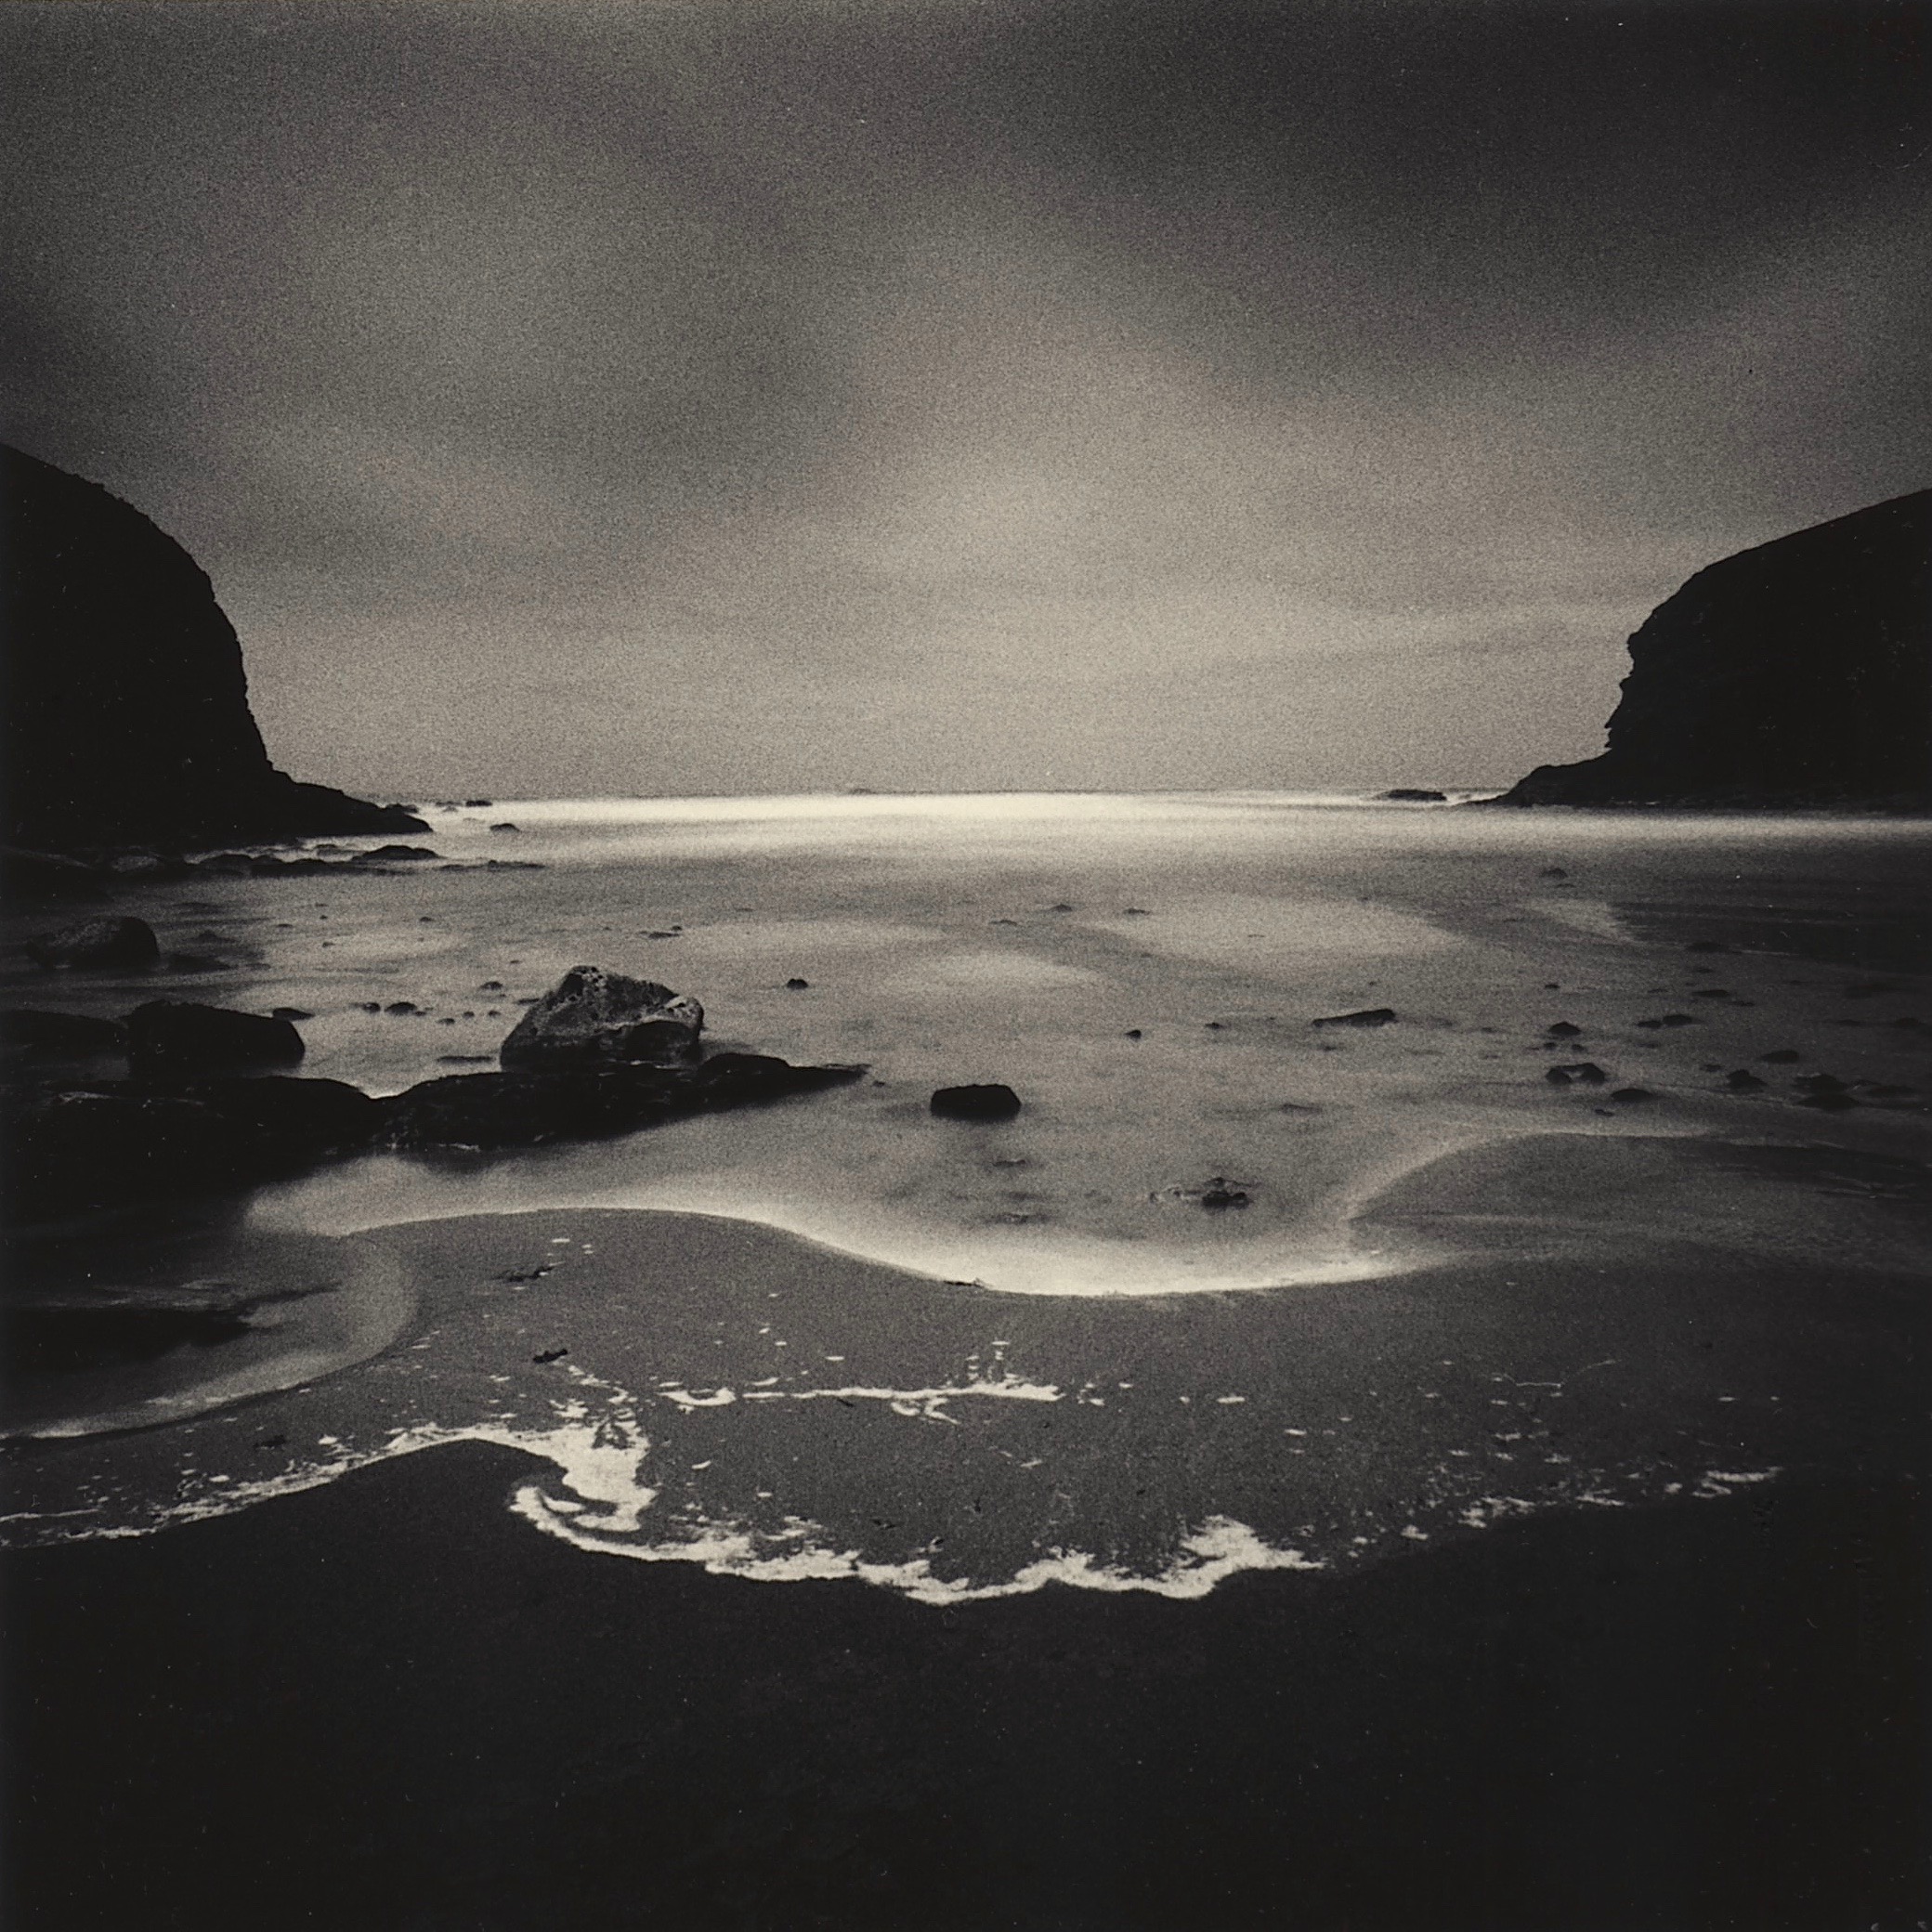
Although I do think the picture is much stronger in the square format, in the un-cropped full frame version both headlands become far to dominant. As my Nikon F2 has no internal meter, I used a Weston Euromaster light meter for my exposure readings applying the respective filter and reciprocity factors accordingly. By using the combination of 25A red and 2stop ND filters I was able to bracket a range of exposures from 4-90secs. The frame I eventually used was one exposed at 30secs….. I think!
How did you process it?
The film was processed normally in D76 1+1 for 11mins, with Ilfostop and Hypam fixing.
What about printing?
The enlarger in my darkroom is a De Vere 203 fitted with a Dichromatt colour head, and is controlled by a RH F-stop timer. This combination allows me to use the Fstop method of printing with Multigrade papers.
My first test strip made at grade 2.5, did not have the contrast that I felt the picture needed. I then made the second test strip at grade 4, this was a lot closer to the look that I was after in the final print. Next, having first chosen a base exposure from the grade 4 test strip, I exposed a full sheet of paper, and made further burn exposures of 1/4 stop to each edge, plus 1/2 stop to the foreground and an extra 1 stop in the sky. All these where made at grade 4, using a “travelling” piece of card. For subsequent prints I decided to reduce the extra burn exposure for the sky from grade 4 to grade1. I felt the extra grade 4 burn exposure to the sky area enhanced the grain and gave the picture too much extra drama.
Which paper did you use and what was your printing process?
For the print, I use Ilford MGIV Classic, developed in Ilford PQU, with Ilfostop and Hypam fixing.
Partially toning of the print was achieved firstly by using a brief diluted bleach bath and then a weak Thiourea/Sodium Hydroxide sepia toner, mixed a 5-1 ratio to give a warm yellow to the high light and mid tone areas only. Lastly a short selenium tone at 1+20 gave the print its final look. I mix both my sepia toners and bleach baths from raw chemicals. I have several basic routines that give consistent and repeatable results with MGIV Classic.
The final print is very much what I had in mind when I made the negative. Not reality, but an interpretation of it.
About The Author
David Lingham
You can contact David using his e-maildavid.lingham@ntlworld.com