


Ortho Plus and Cyanotypes Posted On 28th July 2020 To Magazine, Stories & Alternate

Summer of Photograms
My end goal with my photography, at least for as long as I can remember, was to make darkroom prints. I love the thought processes in darkroom printing, the excitement when I manage to find the combination of burning, dodging and other printing techniques that turns my imagined image into a print that I can share. Preferring the tactile nature of darkroom craft, I never cottoned on to digital photo processing or printing.
Then in the spring of 2019 I developed a long term illness that left me without the strength or energy to stand for hours in the darkroom. While it was pretty tempting to wallow in self pity, I realized that what I could still do was make cyanotypes. It was pretty simple to keep the sessions short, I could rest in the sun during exposures and, as they develop in water, clean up is very simple. It was ideal for my situation. So the summer of 2019 was my summer of photograms.
A purpose
Enjoyable as that was, I missed having a purpose for my negatives. And I wasn’t ready to make digital prints, especially since sitting at a computer was pretty fatiguing. So I started thinking about how I might make contact cyanotype prints using film.
This would be a good project to keep me occupied for a while. Relative to silver prints, cyanotypes compress the tones in an image. Modern printers commonly make digital negatives, modifying the tone contrast to print better. Otherwise the tones block up, and you lose the nuances that a silver print would show. I decided to take on the challenge of making a good cyanotype print using film and without the digital negative - to look for the combination of film stock and development time that might work without having to fuss on the computer.
-
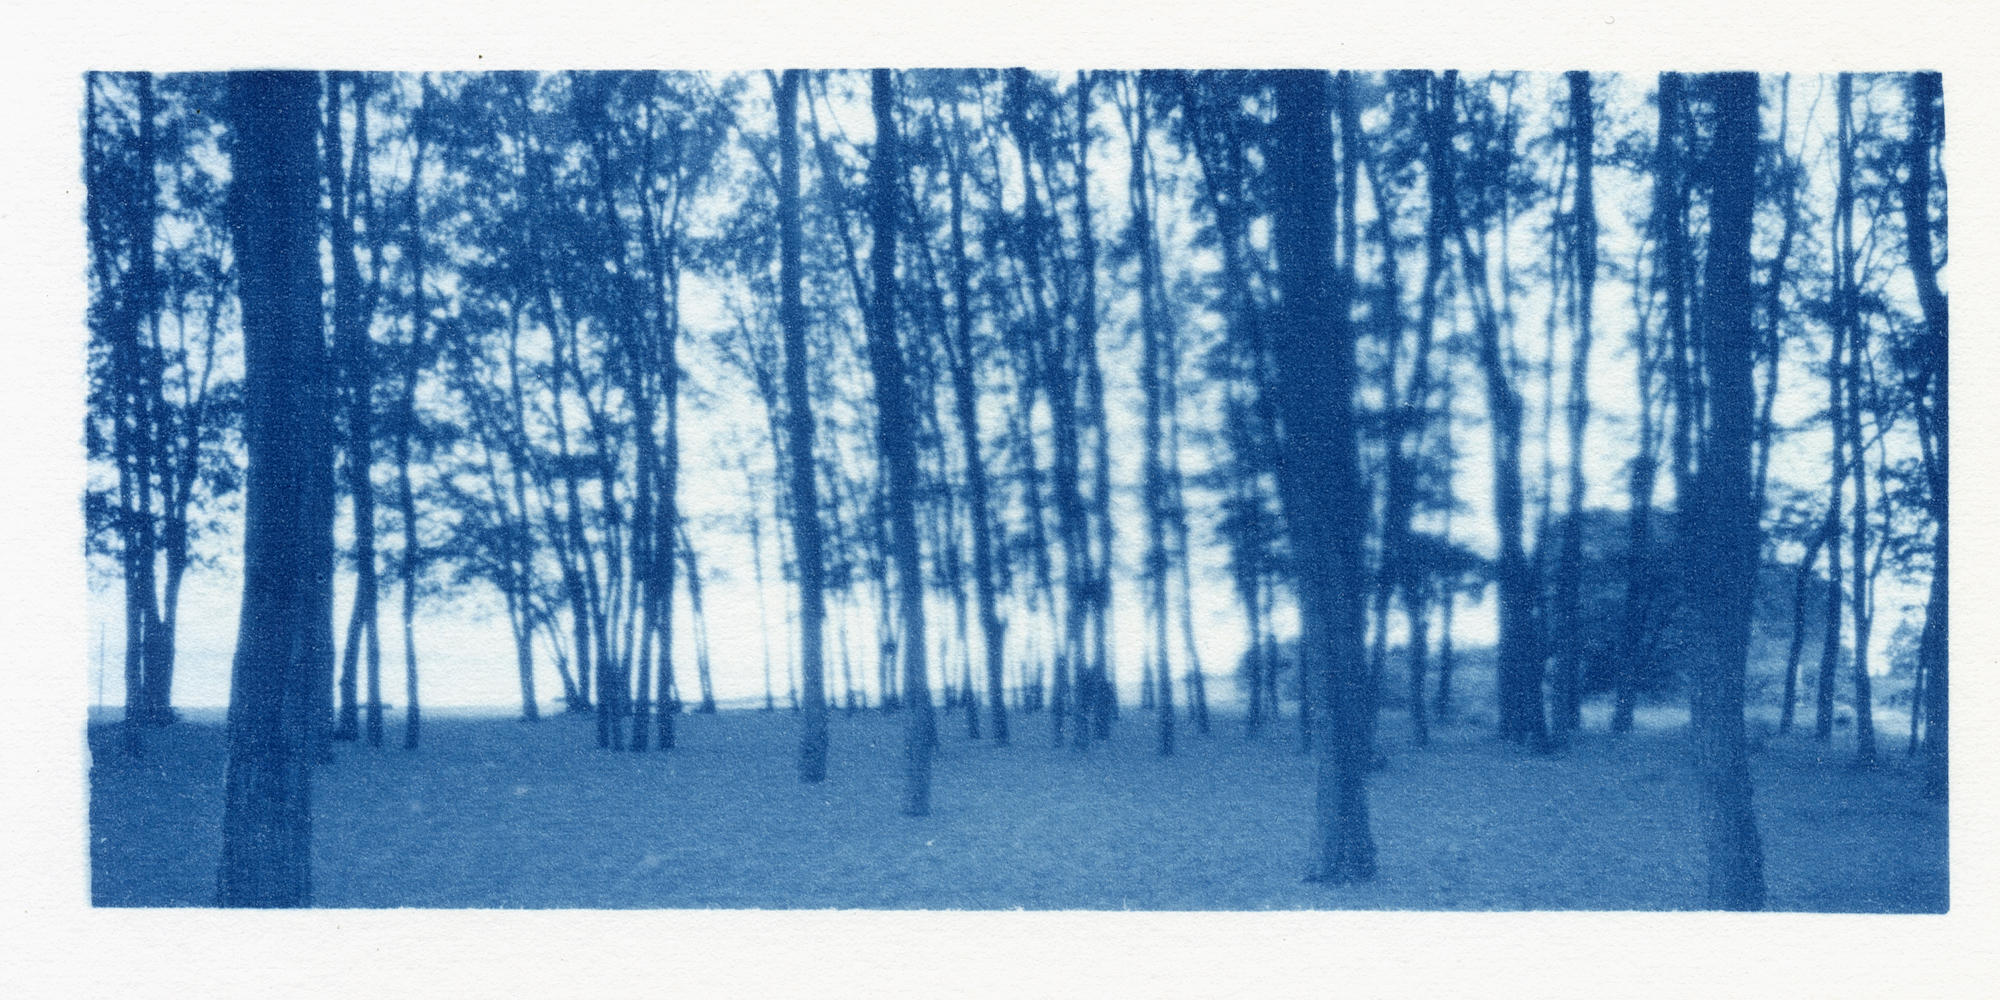
- Golden Gardens Park
-
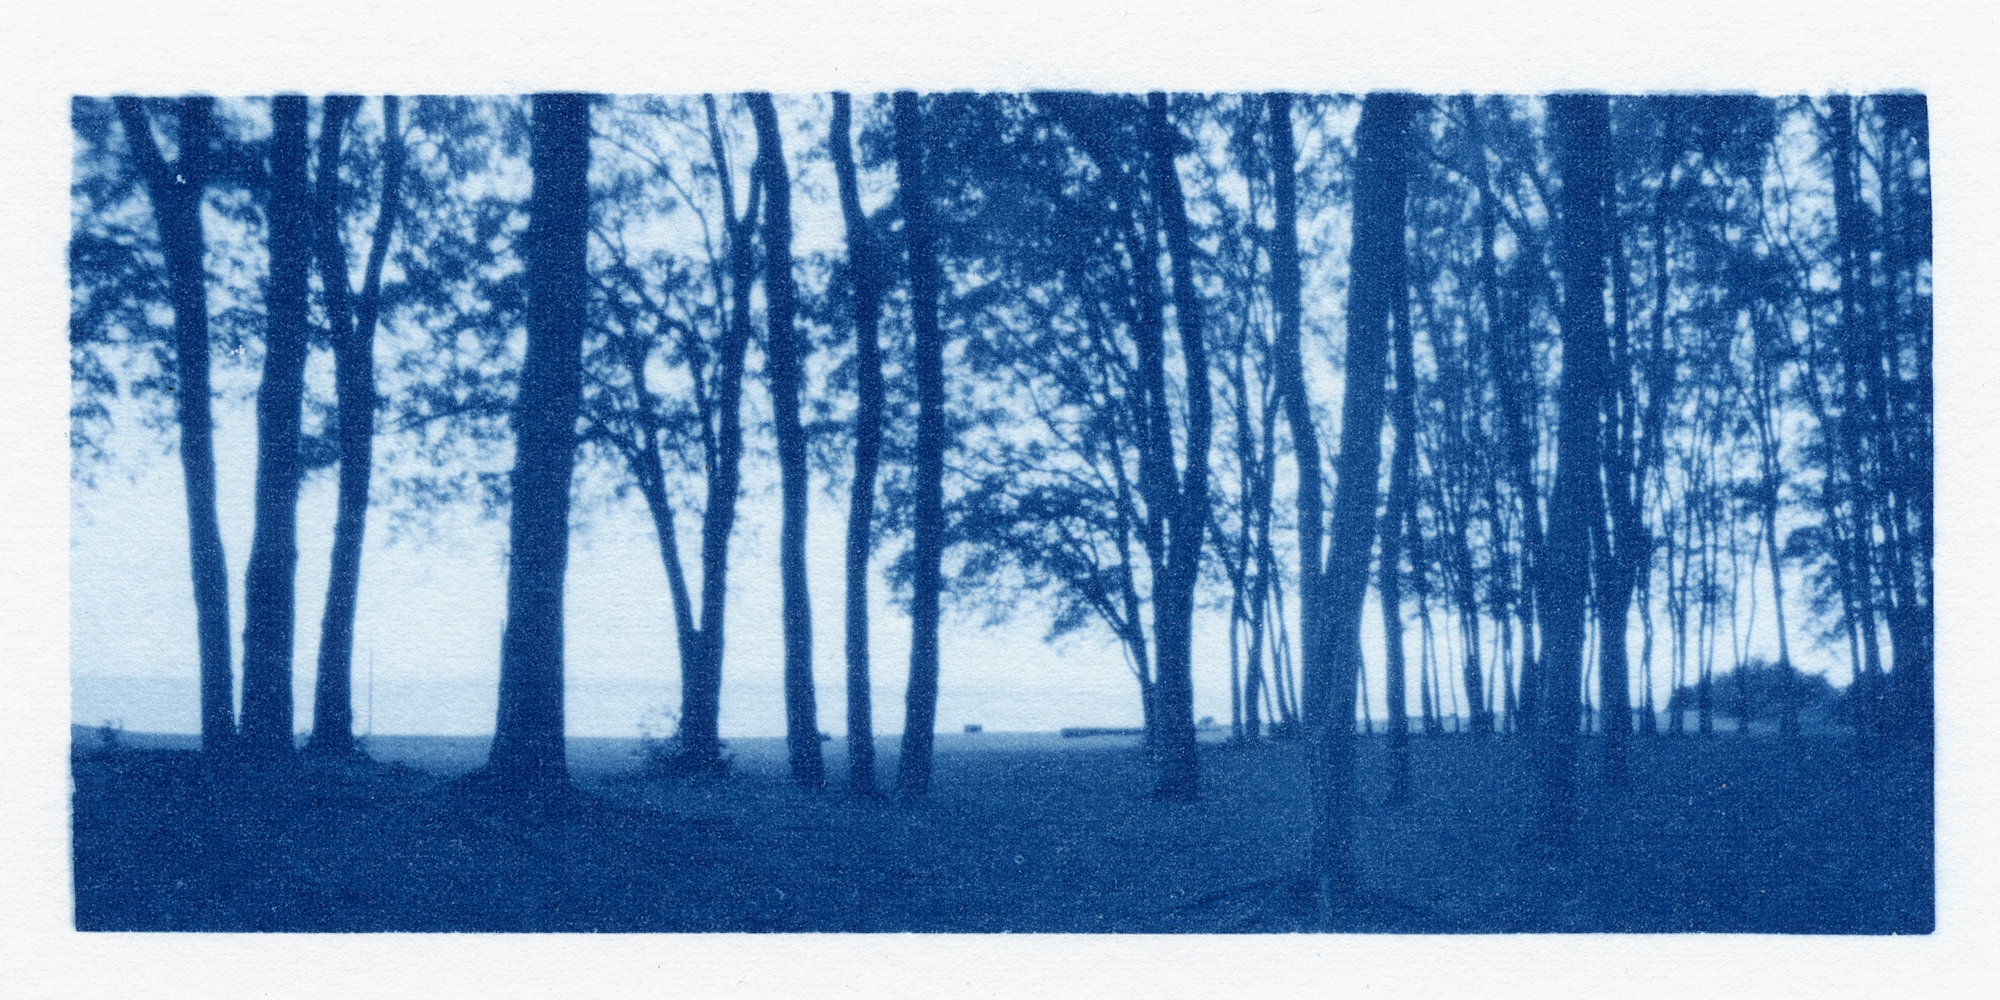
- Golden Gardens Park
Counterbalance the Compression
My first step was to get a Reality So Subtle 6x12 pinhole camera. I thought 6x12 negatives would make nice little contact prints and I was already a pinhole photography addict. So my cyanotype project was kind of an excuse to get another pinhole camera. I had it in my hands in November of 2019. The next step was to find some film stocks to try.
Now, ILFORD had recently announced that they would be selling their Ortho Plus stock in 35mm and 120 format, and I was pretty intrigued by the description of it having a long tonal range. Also, many of the examples that I was seeing exhibited a lot of contrast. I had the idea that these properties might counterbalance the compression inherent in cyanotypes, or that I might only need a little tonal expansion through development. I purchased two rolls of Ortho Plus in 120 and then formulated a plan.
The Plan
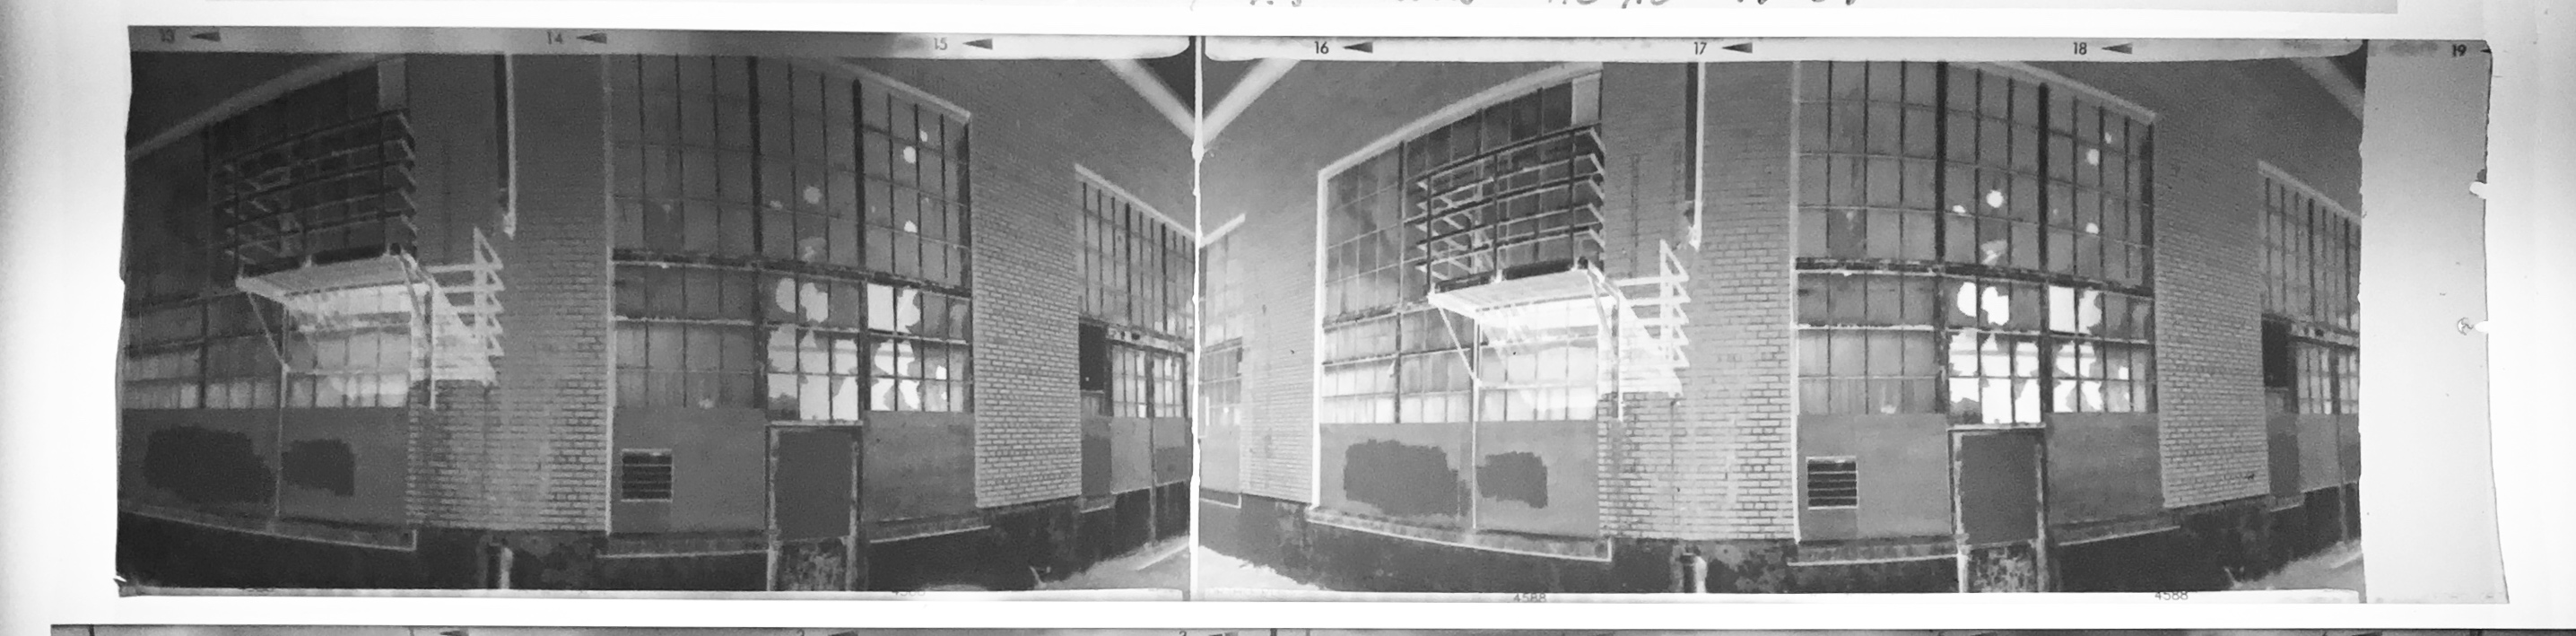
I had the idea that the first roll would be an exposure and development test. I’d take advantage that Ortho could be handled under a safelight and I would cut the exposed negative into three pieces, one for normal development, one for N+1, and one for N+2 development. Each piece would have 2 exposures on them, where one had the shadows placed in zone 4 (meter reading minus 1 stop) and the other exposure I placed the shadows in zone 3 (meter reading minus 2 stops). For my subject I picked an abandoned building in full sun.
The N+1 and N+2 pieces ended up a bust due to operator error. But, the strip developed as normal was a success! Looking at them on the light table, there was a lot of contrast. This was promising. The next sunny day I made my contact prints.
The little details
The prints looked even better than I had hoped! I was so excited! The little details on the building were visible in the print. (For some reason I was especially thrilled about all the tiny bricks.) There was a lovely range of tones. There was a level of detail that, given that this was a cyanotype from a pinhole negative, I just wasn’t expecting. Both prints were acceptable, but I felt that the negative where I placed the shadows in zone 3 printed better.
-
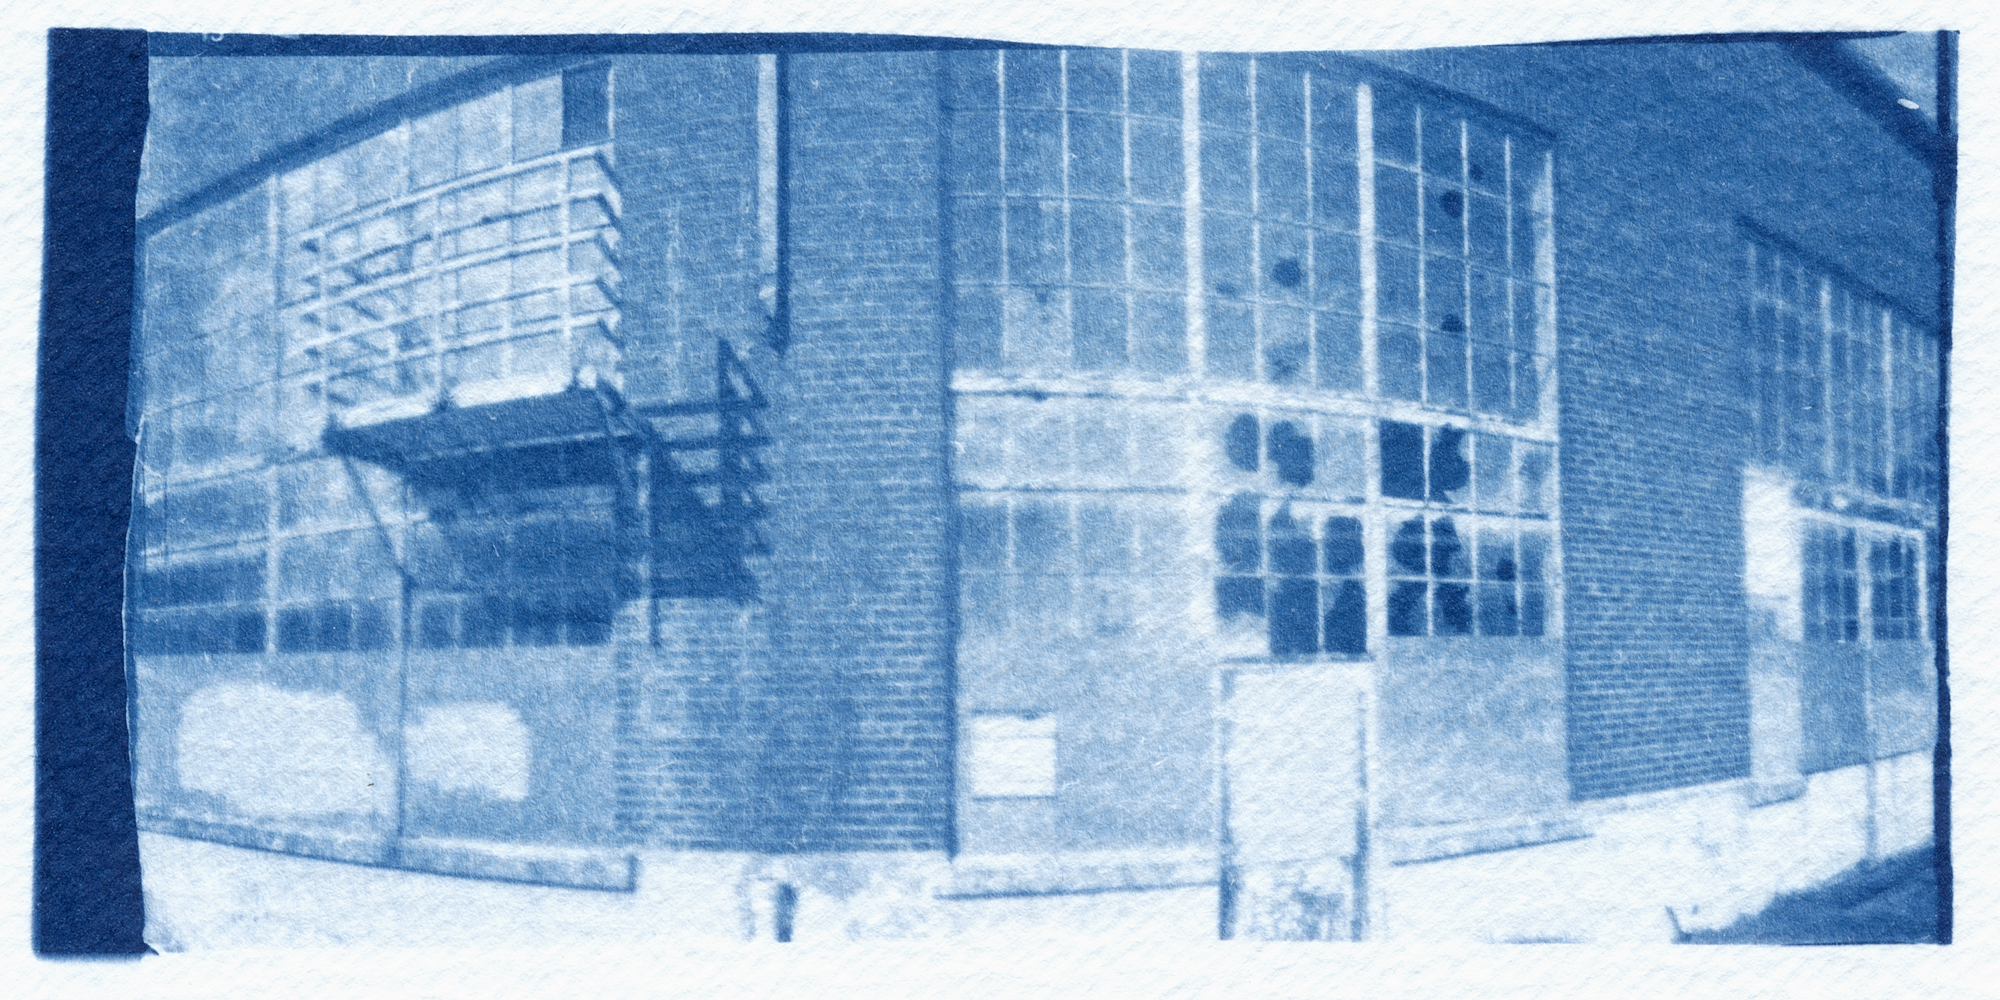
- Zone 4 shadows
-
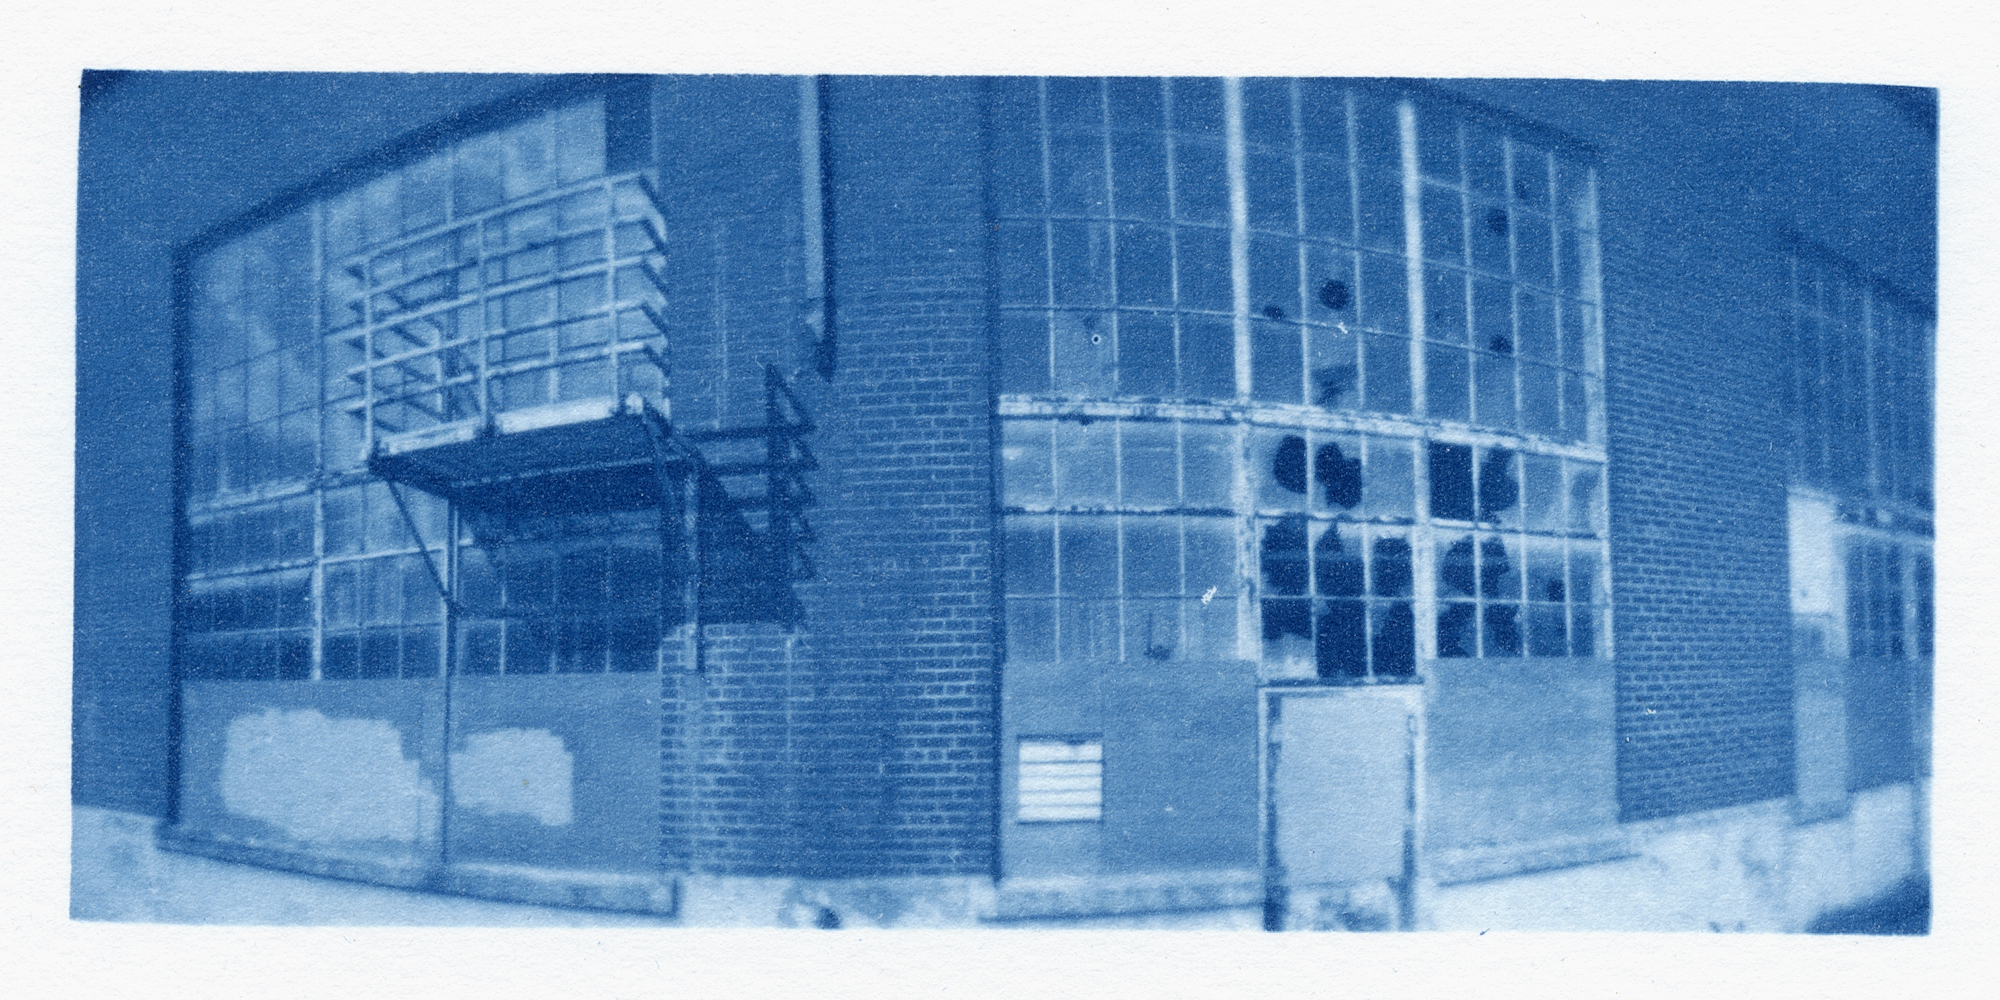
- Zone 3 shadows
Did I mention how excited I was?
Now it was time to push things a bit. While I love pinhole, I have a very particular aesthetic in mind for the images that I produce. So my next experiments were to help me determine 1) what type of scene would translate well with this particular pinhole camera, 2) what type of scene would look good as a small contact print, and 3) what type of scene would look good in blue.
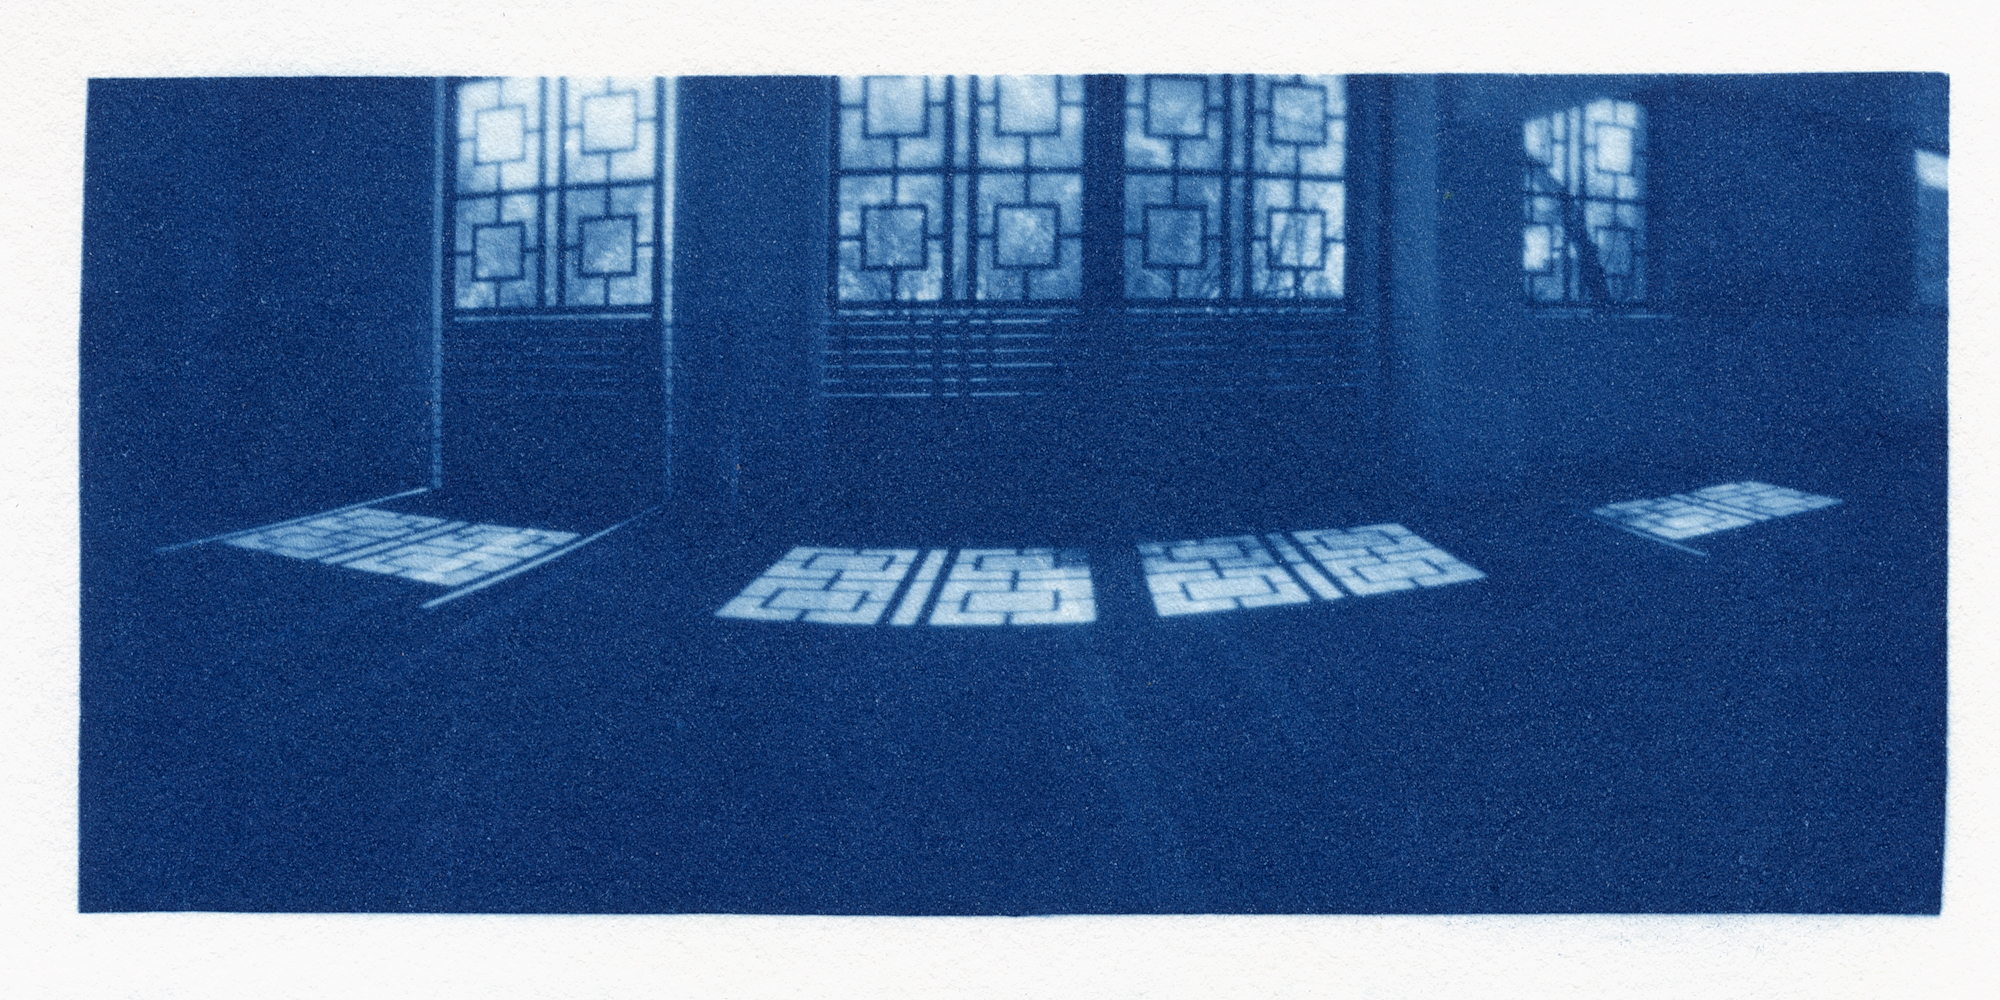
Parking Structure
Testing locations
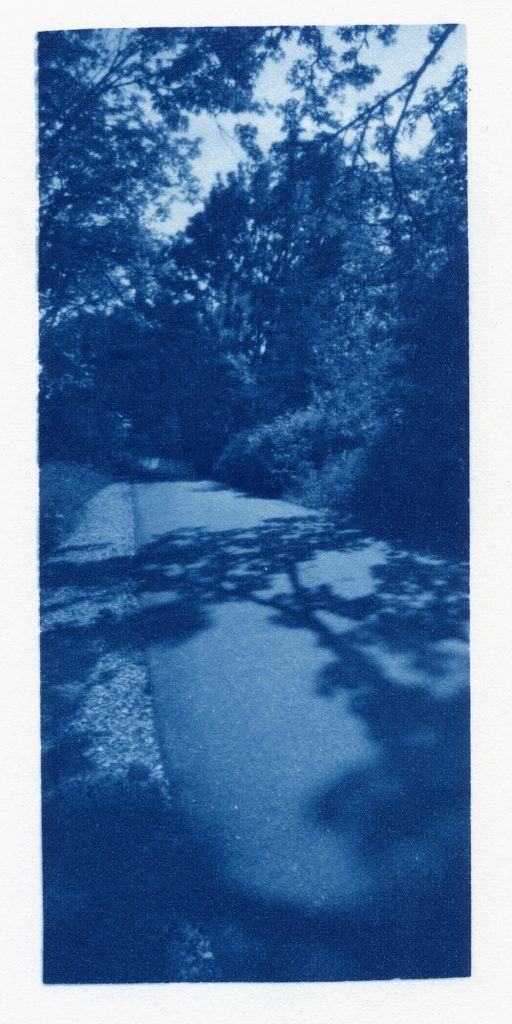
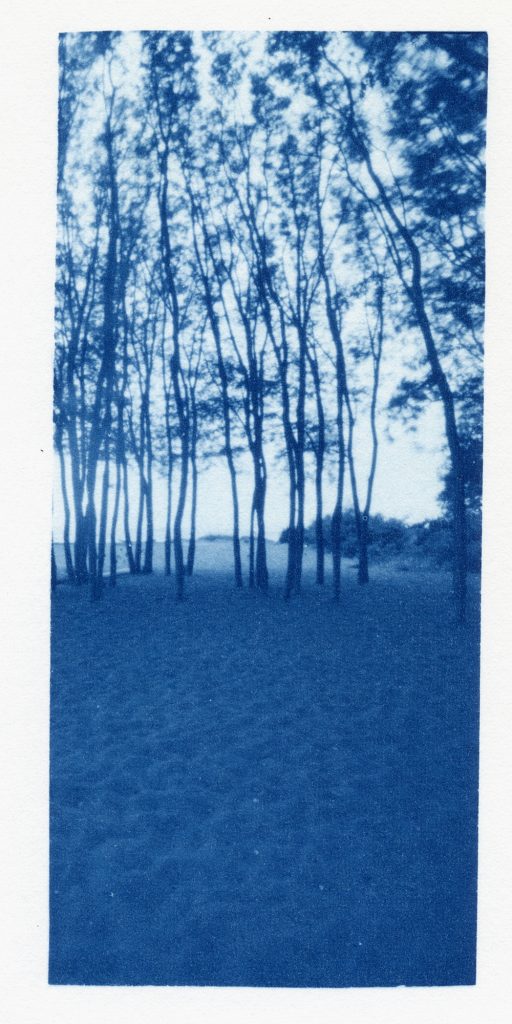
I tried some old stand by locations in my favorite parks. I tried an empty parking structure. I photographed the flora on the side of the bike trail. I tried different types of natural lighting. I played with dodging during print exposure. I made some more exposure tests and in one case increased the negative contrast by selenium toning after development. My experiments indicate that negatives that I’d nominally consider perfect for silver gelatin needed a contrast boost for cyanotype, and negatives that looked overly contrasty printed beautifully.
-

- Madison Park Beach
-
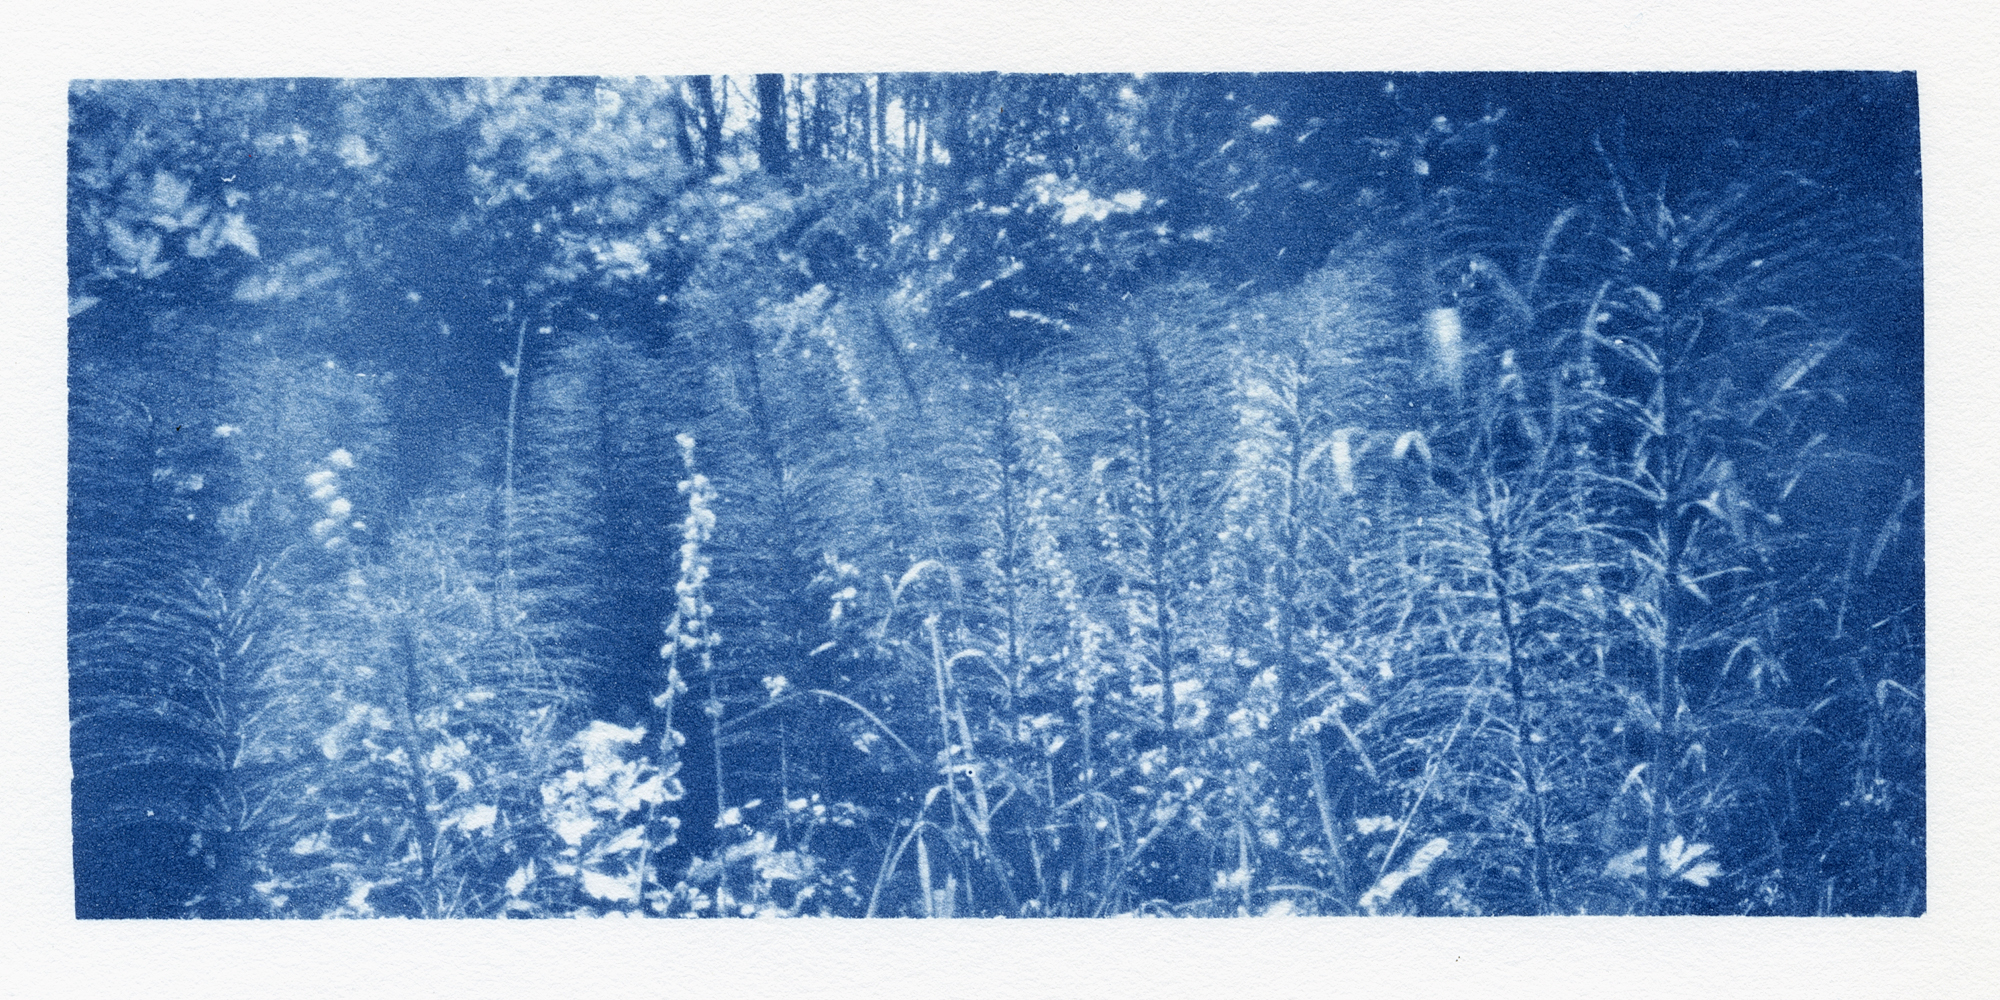
- Horestail
Some of my results are meh, but some of my results make me very happy. My favorite prints are the ones that communicate differently, perhaps better, as a cyanotype than they would as a silver gelatin print. That the surreal qualities inherent in pinhole becomes enhanced by the blue tones.
-

- Zone 4 Selenium toned
-
- Zone 3 Shadows
-
- Golden Gardens Park
I still have a lot of exploring and experimenting to do. But the best part is, I am making prints again.
About The Author
Monika Danos
Monika developed her love of art and photography while growing up; her mother painted and family trips to art museums were frequent outings. It was when her mother took an Introduction to Photography course at a local art school that Monika’s interest in darkroom printing took root. Monika has developed a deep love of traditional photographic processes which include making cyanotype photograms, pinhole photographs, and darkroom prints from film negatives.
An engineer by profession, Monika lives in Seattle, WA with her husband, two children, and cat. When not taking care of daily life, she can be found in her garden or chasing shadows with her camera.
Links:
Twitter: @drmarsrover
Website: thesmelloffixer.wordpress.com